In QuoteWerks Web, the Layout Manager is used to customize the printed output both for individual documents like a quote, order or invoice. Each has similar functionality, but are used differently. The following article defines what a layout is as well as how to access, edit and use them.
The Layout Manager is built on the ReportBro platform. For a full user guide and tutorials, please visit https://www.reportbro.com/doc/userguide
Navigate the following topics to learn how to use the Layout Manager in QuoteWerks Web:
•Layout Manager Overview
•Layout Manager Toolbar
•Object Explorer
•Object Properties
Layout Manager Overview
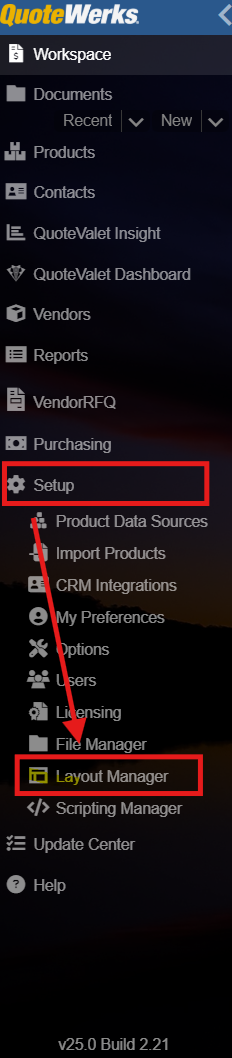
To access the Layout Manager navigate to Setup -> Layout Manager from the left hand navigation panel.
The Layout Manager will open and will list all of your saved layouts down the left side of the window.
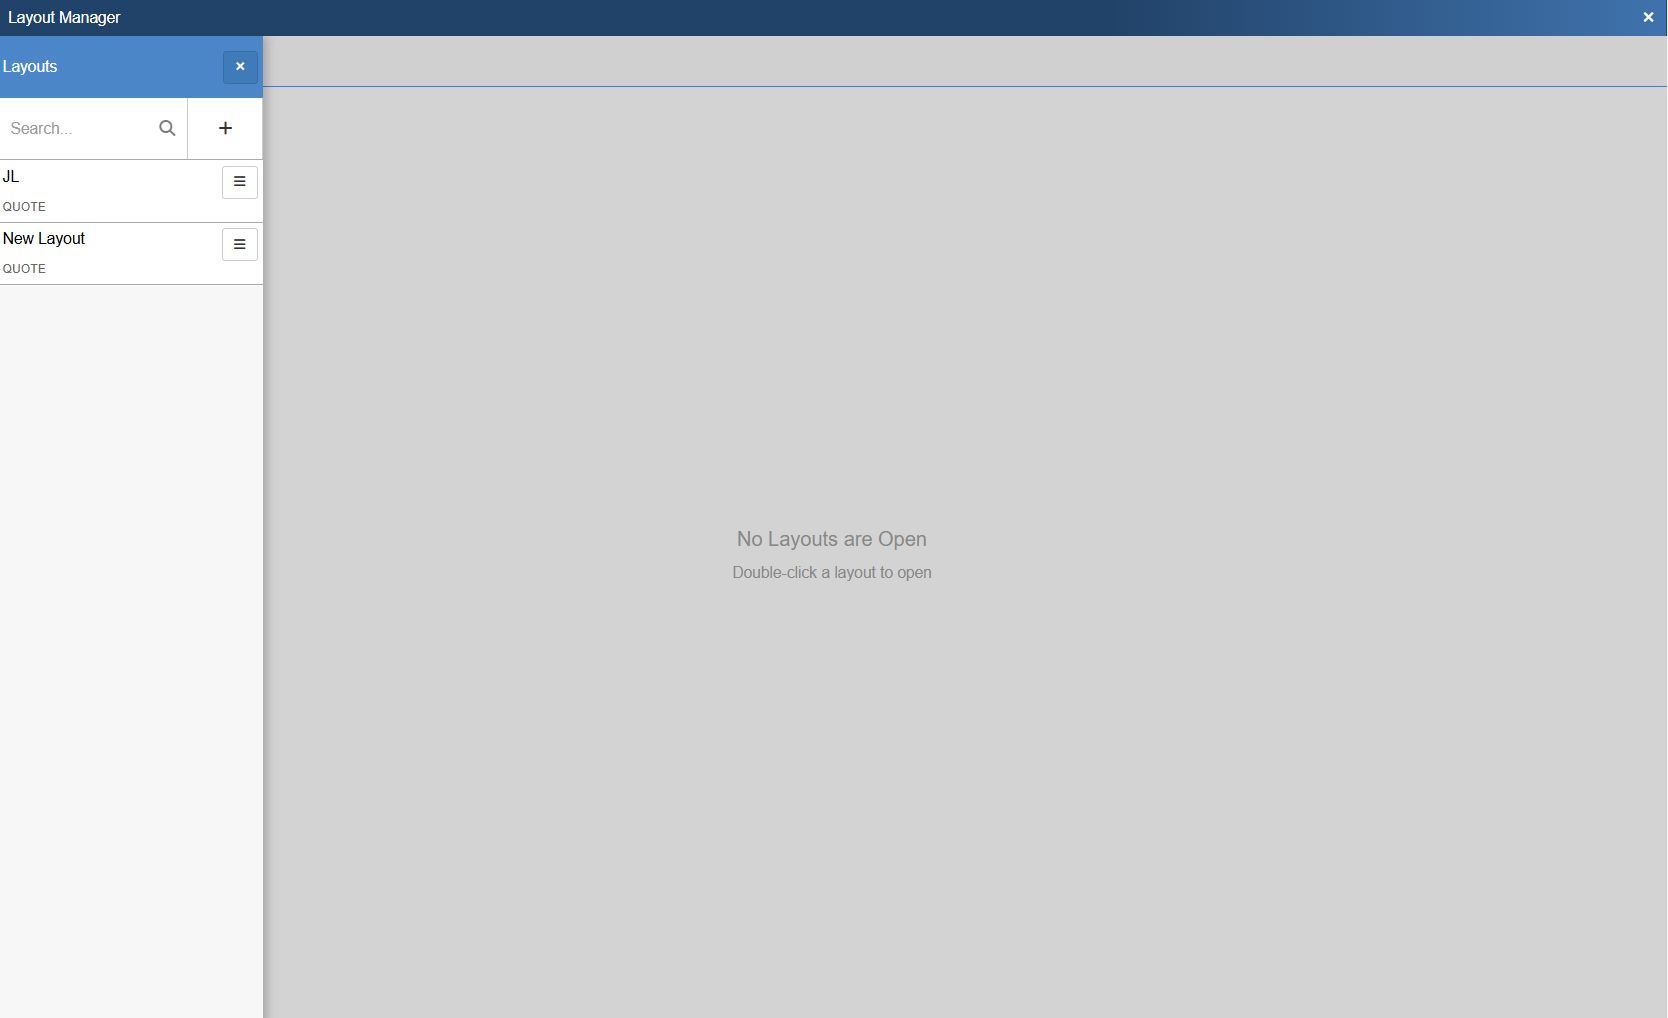
To create a new layout from scratch or from an existing layout, click on the  button. This opens the New Layout Window. To select an existing layout double click to open it in the Layout Editor.
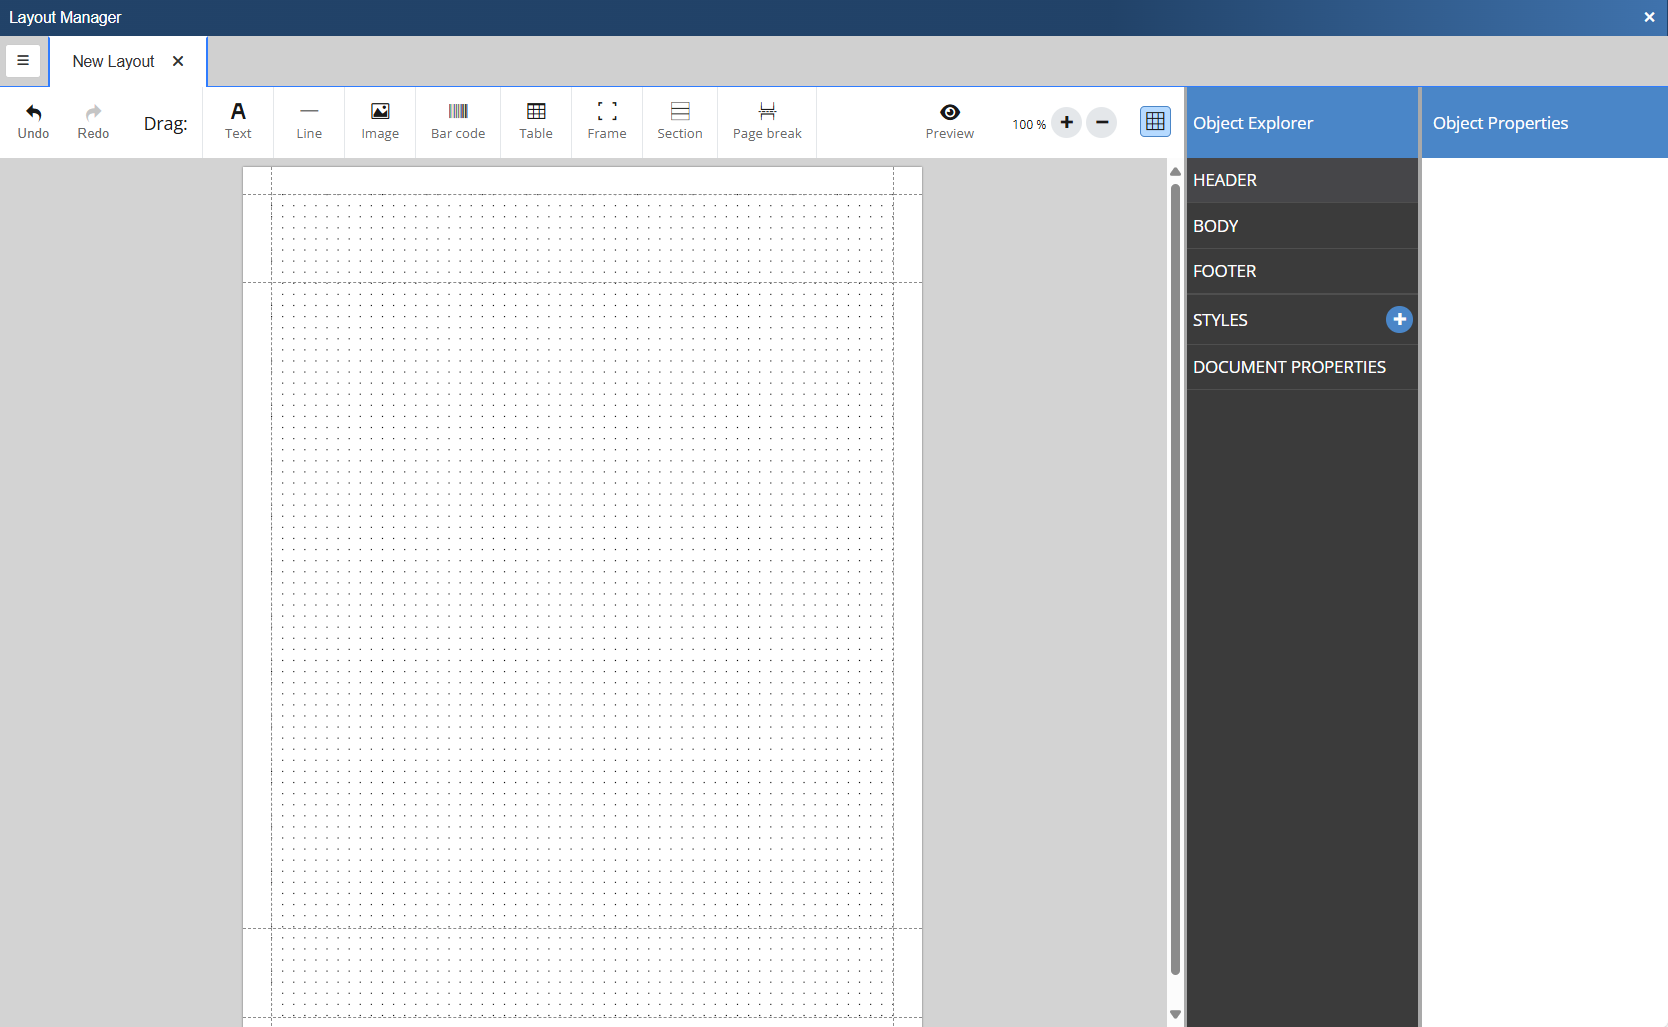
Below is what a new, unpopulated layout looks like. There are a number of elements on this page, which are also outlined below.
Layout Manager Toolbar
The following options are available across the top toolbar in the Layout Editor.
 These buttons can be used to undo and redo changes withing the Layout Editor.
 This button will open a preview of the currently open layout populated with sample data.
The options below can be added to a document by dragging them onto the grid.


The Text button creates a text box where you can input static text, expressions, or pull a field(s) from an available table. A text element can consist of static text, parameters, a combination of both or an expression to be evaluated (see expression syntax). Predefined styles can be applied to text as well. Enable rich text to assign different styles to a single text element. Rich text also allows parameters but doesn't support expression evaluation.

The Line button inserts a horizontal line into the layout. The horizontal line supports adjustable width, height and color.

The Image button allows you to select a .JPG or .PNG file to be inserted into the layout.

The Bar code button inserts a bar code into the layout. The following codes are supported
•Code128: One of the most versatile barcodes and supporting all 128 ASCII characters. See ASCIItable.com for a list of supported characters.
•Code39: Defines 43 characters, consisting of uppercase letters (A through Z), numeric digits (0 through 9) and a number of special characters (-, ., $, /, +, %, and space).
•EAN-13 / UPC: Standards identifying a specific retail product internationally. It consists of 12 numbers plus a checksum number. EAN-13 codes beginning with 0 are actually 12-digit UPC codes with prepended 0 digit.
•EAN-8: Derived from EAN-13 for smaller packages. It follows the same logic (7 numbers plus a checksum number).
•QR Code: Can contain any characters.

The Table button inserts a new table into the layout. A table is used for presenting lists of values, such as invoices, statistics, or shipping items. To print dynamic data a table needs a parameter list as its data source.

The Frame button inserts a frame into the layout. Frames serve as versatile containers for elements, providing organization and visual enhancements. Here's how to effectively use frames:
•Container for elements: A frame acts as a container for other elements, creating a cohesive grouping.
•Dynamic sizing: A frame acts as a container for other elements, creating a cohesive grouping.
•Grouping elements: Use frames to group elements together, ensuring they stay connected and don't split on a page break.
•Styling options: Apply borders or backgrounds to the entire frame, enhancing the visual presentation.
•Positioning: Elements within a frame are positioned relative to the frame, while the frame itself is positioned in relation to the page.
•Movement impact in report design: Moving the frame affects its contents, making it a convenient way to reposition and organize multiple elements simultaneously.

The Section button inserts a new section into the layout. Similar to tables, sections require a parameter list as a data source. The key distinction to a table is that sections are not limited to text elements, providing flexibility for grouping whereas a table displays data line by line.

The Page break button inserts a manual page break into the layout.