Webhooks in QuoteWerks allow you to automatically send real-time data from your QuoteWerks environment to another application when specific events occur. This enables seamless integrations with CRMs, accounting systems, marketing automation platforms, internal dashboards, and more—without manual exports or scheduled syncs.
What Are Webhooks?
A webhook is an automated HTTP callback triggered by an event. When a defined action occurs in QuoteWerks, the system sends structured data (typically JSON) to a specified URL endpoint in another application.
Unlike traditional API polling (where an app repeatedly checks for updates), webhooks push data instantly when an event happens.
This help file includes the following sections:
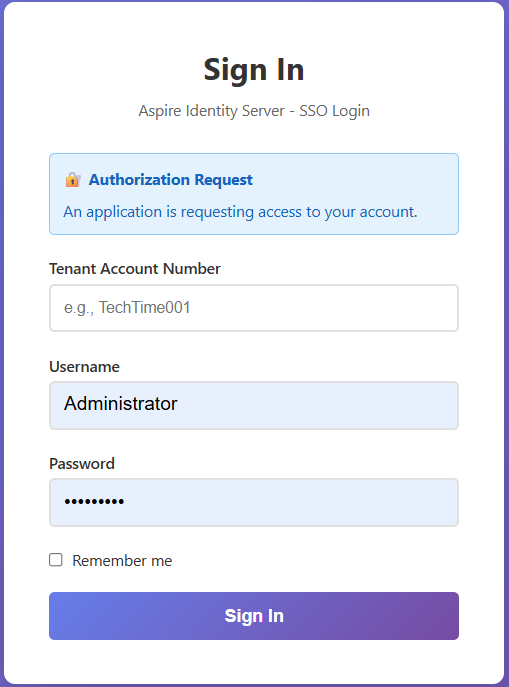
1. Navigate to https://webhooks.quotewerks.com/
2. Input your Tenant Account Number, Username, and Password.
3. Once logged in you are brought to the webhooks landing page where you can create and view any already established webhooks.
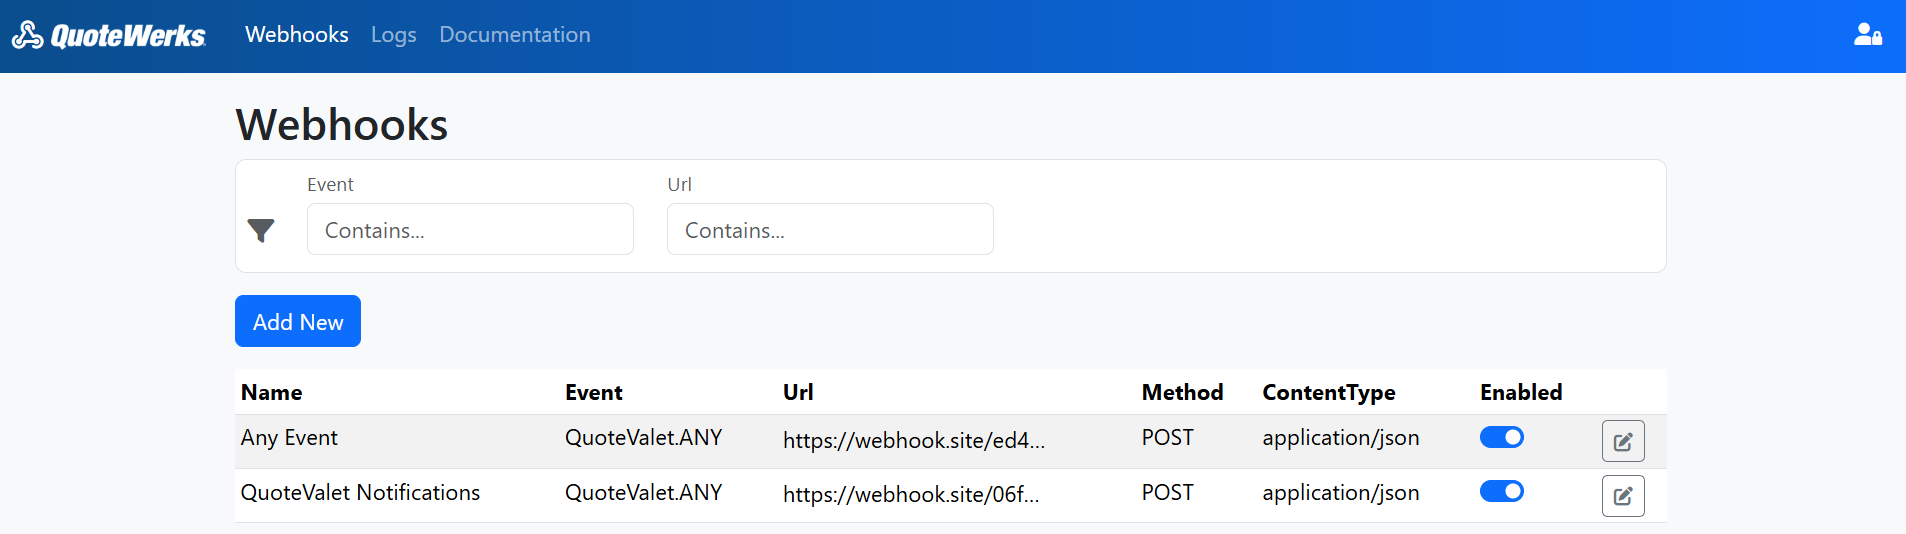
4. To create a new webhook click on the Add New button. This opens the Add New Webhook page.
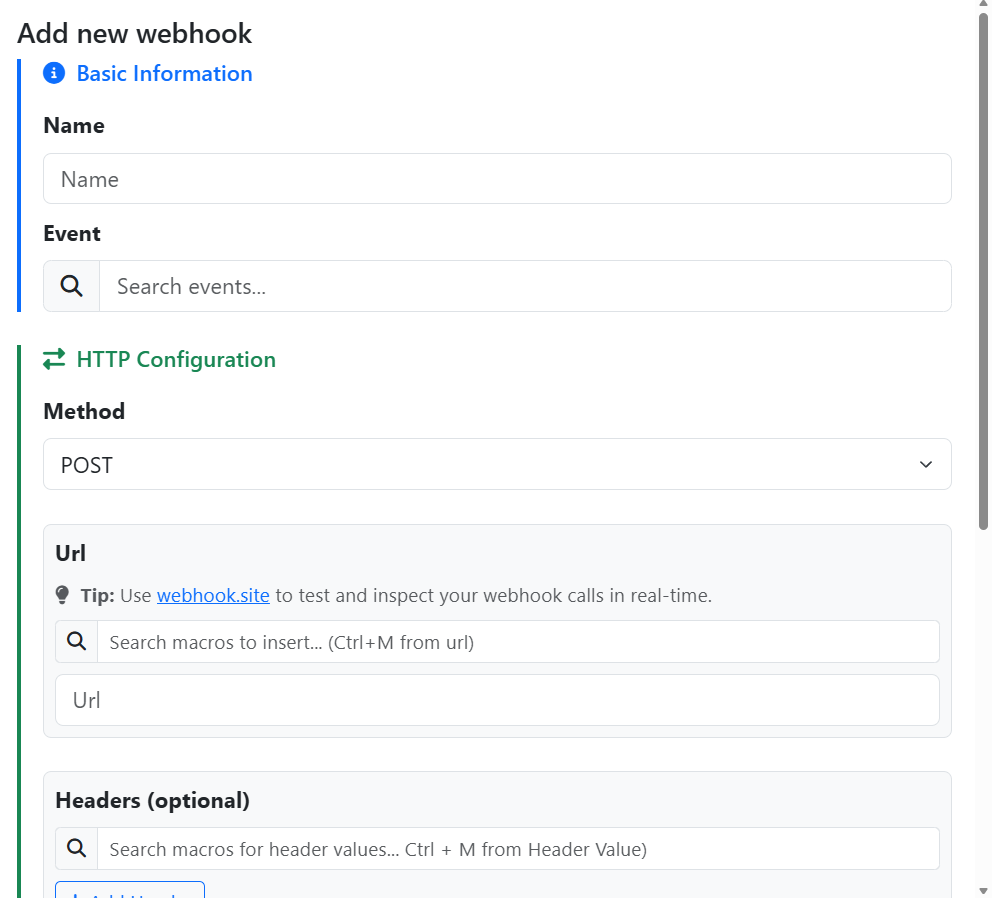
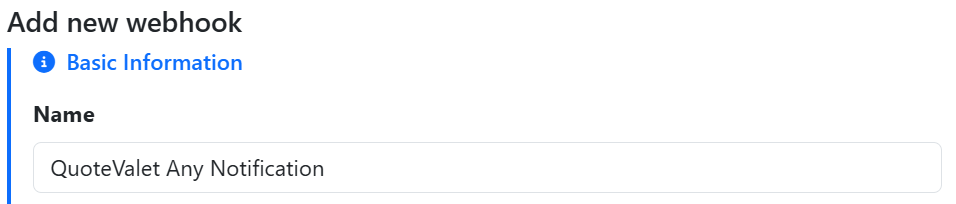
5. Start by entering a name for your webhook. This will display on the list of webhooks on your landing page so make sure it accurately describes what the webhook is doing for easy identification.
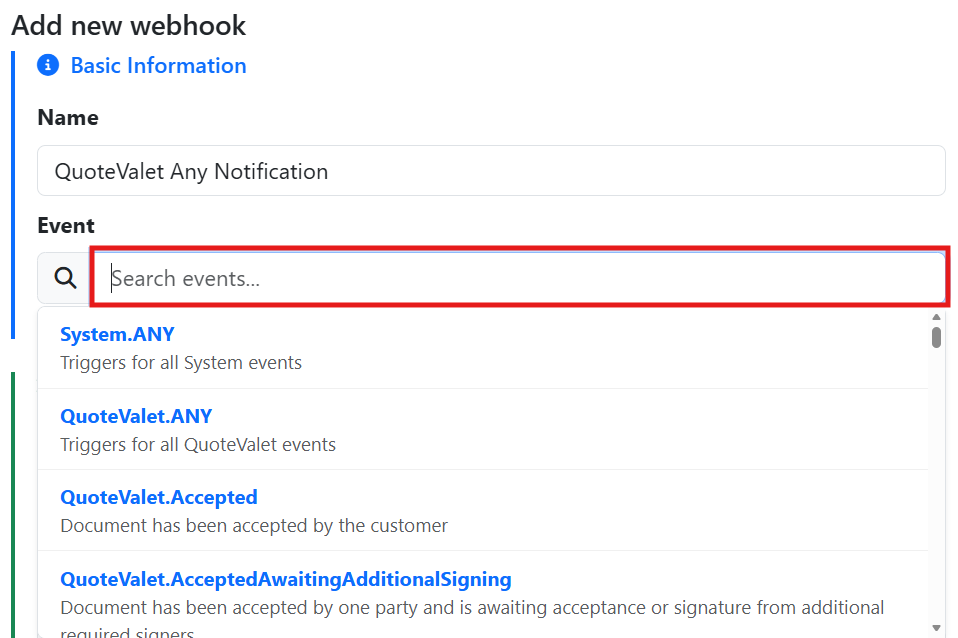
6. Choose the event that you would like to trigger your webhook by clicking into the box next to the magnifying glass icon under the event section. Note that under each event there is a description of what event is.
7. Under HTTP Configuration choose the method you would like your webhook to use. Most often this will be POST, but for a list and description of available methods click here.

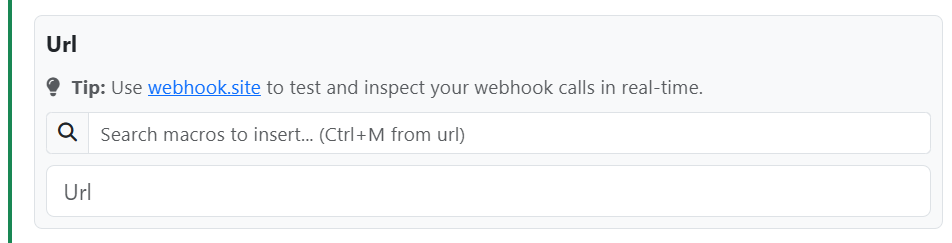
8. Input the URL that you would like to send the webhook to into the URL text box. If you would like to test your webhook before sending it to a live endpoint you can use a tool like webhook.site.
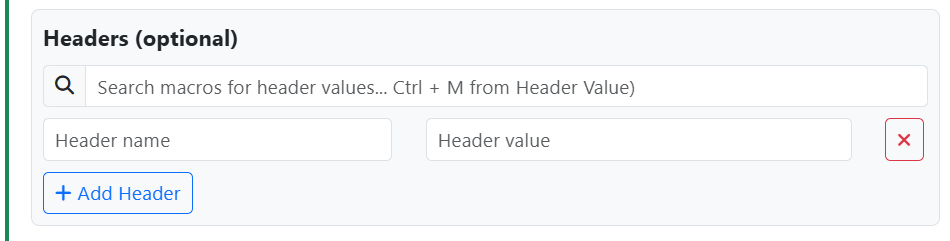
9. You can add optional header(s) to your webhook by clicking the Add Header button. Here you can give the header a name and a value. You can use the macro search bar to insert macros from the QuoteWerks system into your header value text box. To do so click into the Header Value field then click on the text box next to the magnifying glass and selecting the macro you would like to use. Alternatively, while in the header value field you can hold CTRL and hit M to open the macro search.
10. Choose the Body Content Type from the dropdown menu. In most cases this will be application/json, but there are other options should you wish to use them. For a list and description on Body Content Types click here.

11. In the body section you can input what you want the body of your webhook to contain. Click on the magic wand icon  to insert standard fields for the selected event. If you would like to insert all fields hold shift and click on the magic wand icon. Alternatively you can click on the box next to the magnifying glass to select the specific macros you would like to include.

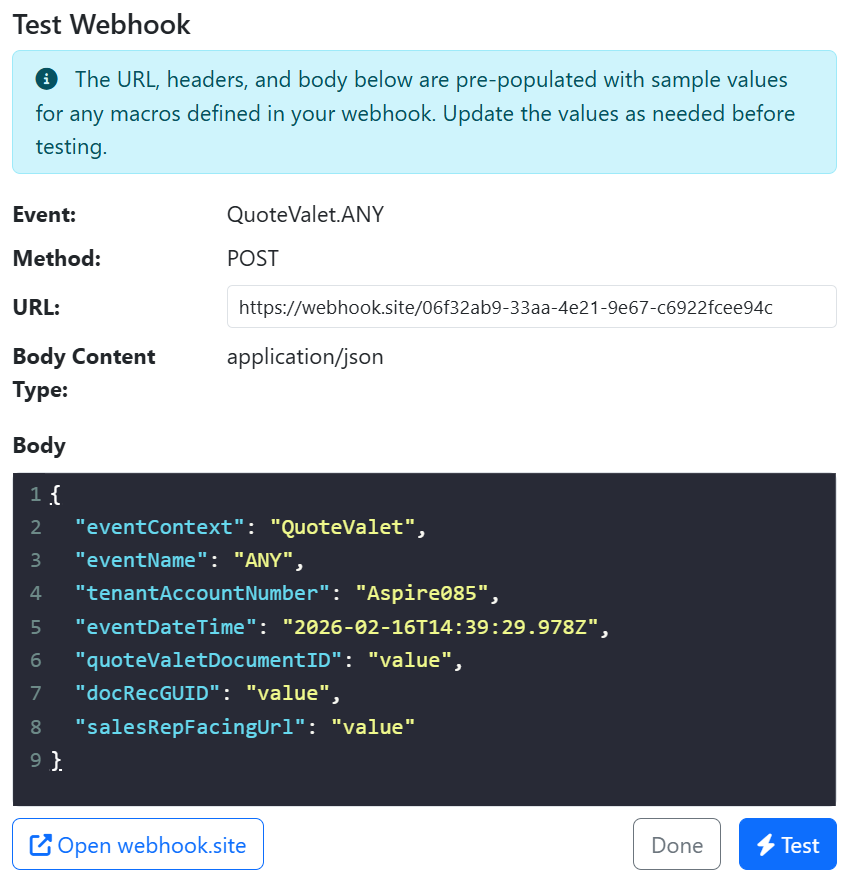
12. Click test to trigger a test event to be sent to your selected endpoint.
13. Click the save button to save your webhook. Once saved your webhook will be listed on the webhook landing page.
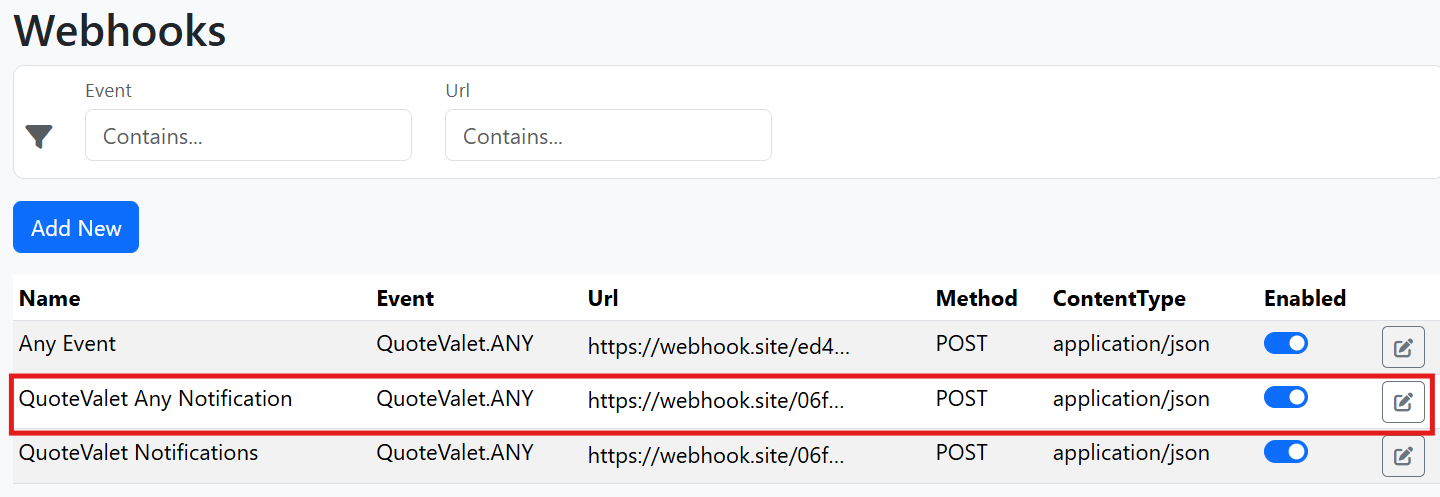
Note that on the page pictured above you can enable/disable a webhook by using the toggle button and edit the webhook by clicking on the pencil icon.
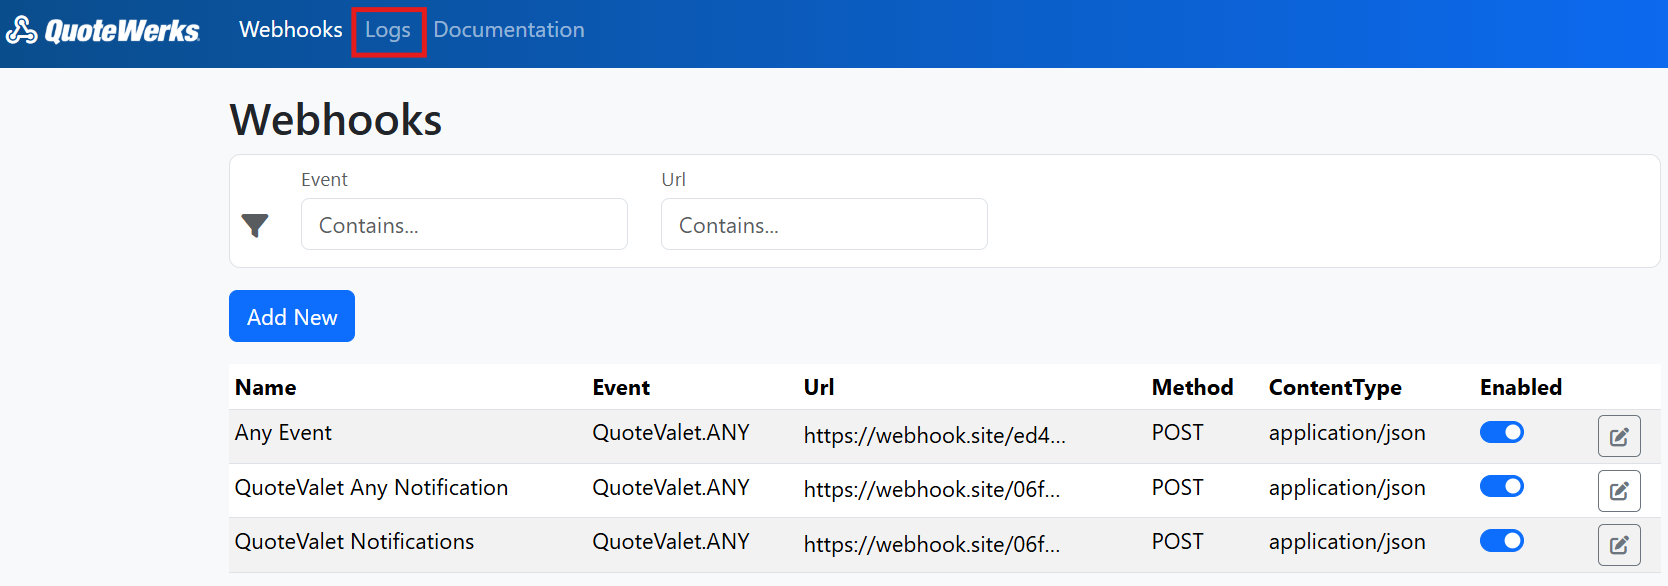
To view your Webhook logs click on Logs at the top of the Webhooks landing page.
The logs page displays all events that have been triggered and gives you the ability to search them using the filter bar at the top of the page.
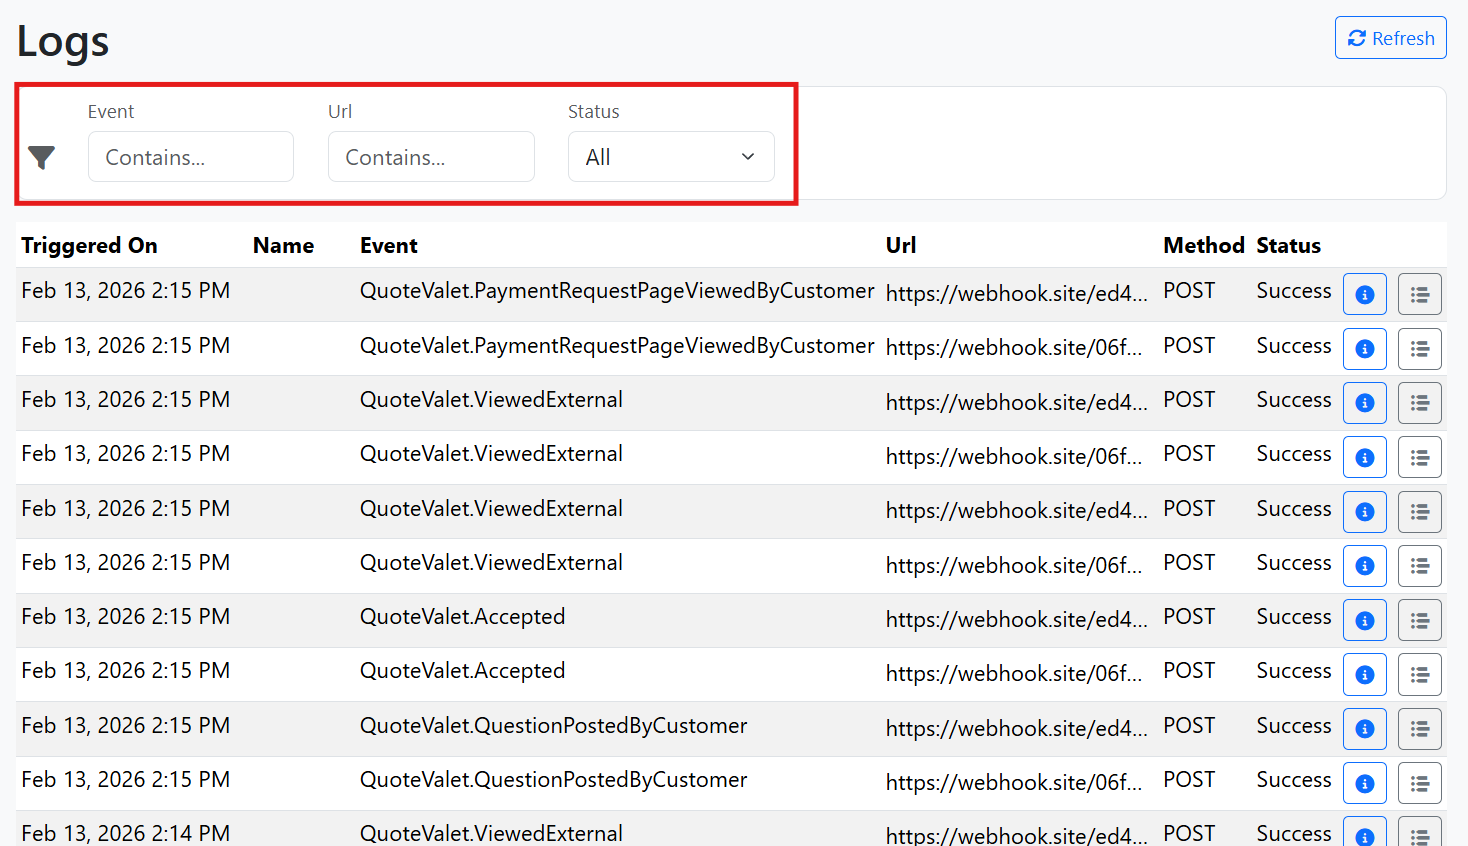
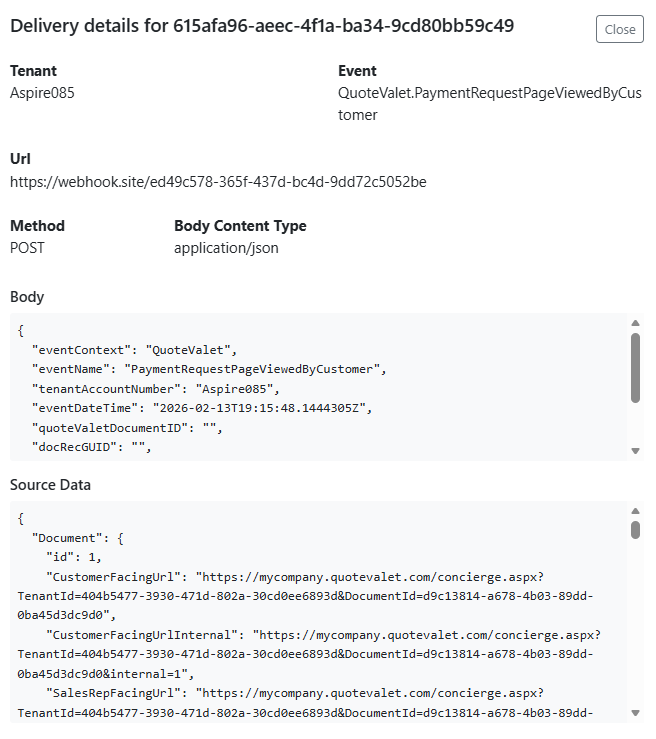
To view the delivery details for each event click on the  icon.
icon.
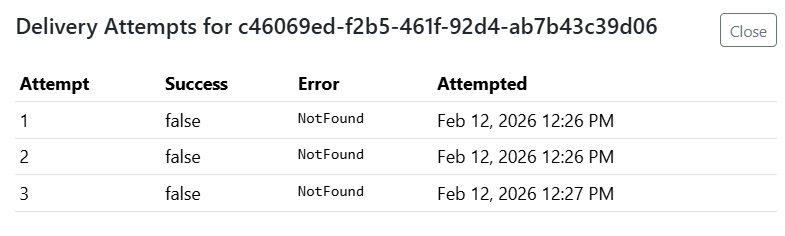
If a event fails to send successfully the system will try a total of 3 times. Click on the  icon to review the delivery attempts and their outcomes. If available, an error code will be listed.